Drip Edge Flashing Installation & Retrofits in Airdrie
Without drip edge, water off your shingles curls back under the roof edge and runs behind the eavestrough onto the fascia and deck. We install aluminum drip edge at eaves and rakes, and retrofit it under existing shingles, so roof water drops where it belongs.
The Problem It Solves
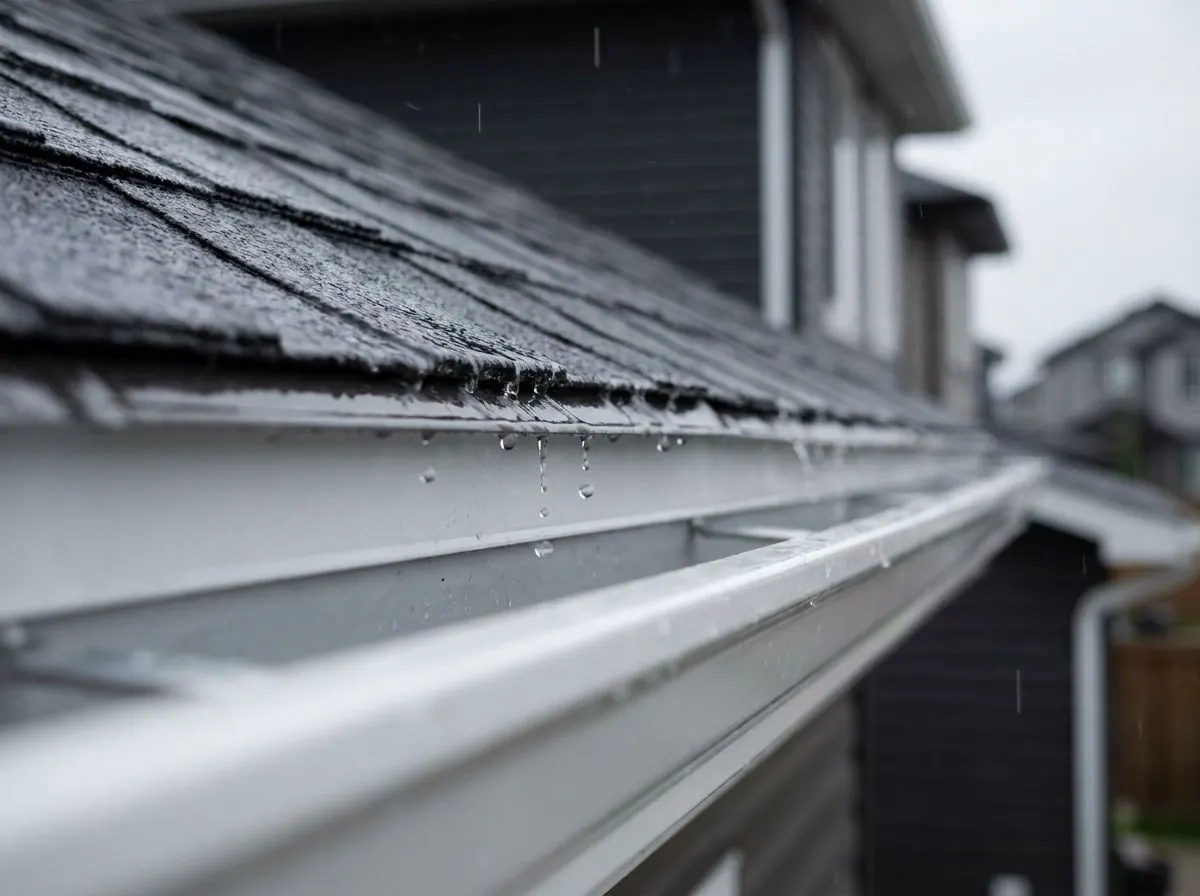
Water does not fall cleanly off the edge of a shingle. Surface tension pulls it around the lower edge and back along the underside. On a roof with no drip edge, that water creeps back onto the exposed edge of the roof deck and runs down the face of the fascia board. A surprising share of it ends up behind the eavestrough instead of inside it, which is why an eavestrough can be the right size, perfectly pitched and freshly cleaned, and still leave a dark wet stripe running down the fascia under every rainfall.
That misdirected water does steady damage. The raw edge of the plywood or OSB roof deck soaks it up, swells and starts to delaminate, and a soft deck edge gives the first course of shingles nothing firm to sit on, so the shingles along the eave begin to droop and curl. The top of the fascia stays wet and starts to rot, hanger screws loosen, and water that slips behind the trough drips onto the soffit, stains the siding and lands right at the foundation.
Winter makes the problem sharper. On a Chinook thaw day, snowmelt runs down to the eave and then refreezes when the temperature drops again overnight. With no flashing to carry it out past the fascia, that ice forms against the face of the board and up under the shingle edge, and the next thaw sends meltwater around and behind the ice onto the deck edge. On the gable ends, the rake edge has its own weakness: wind-driven rain and snow blowing sideways across the roof can lift into the gap under the shingles where there is no rake flashing to close it.
How It Works
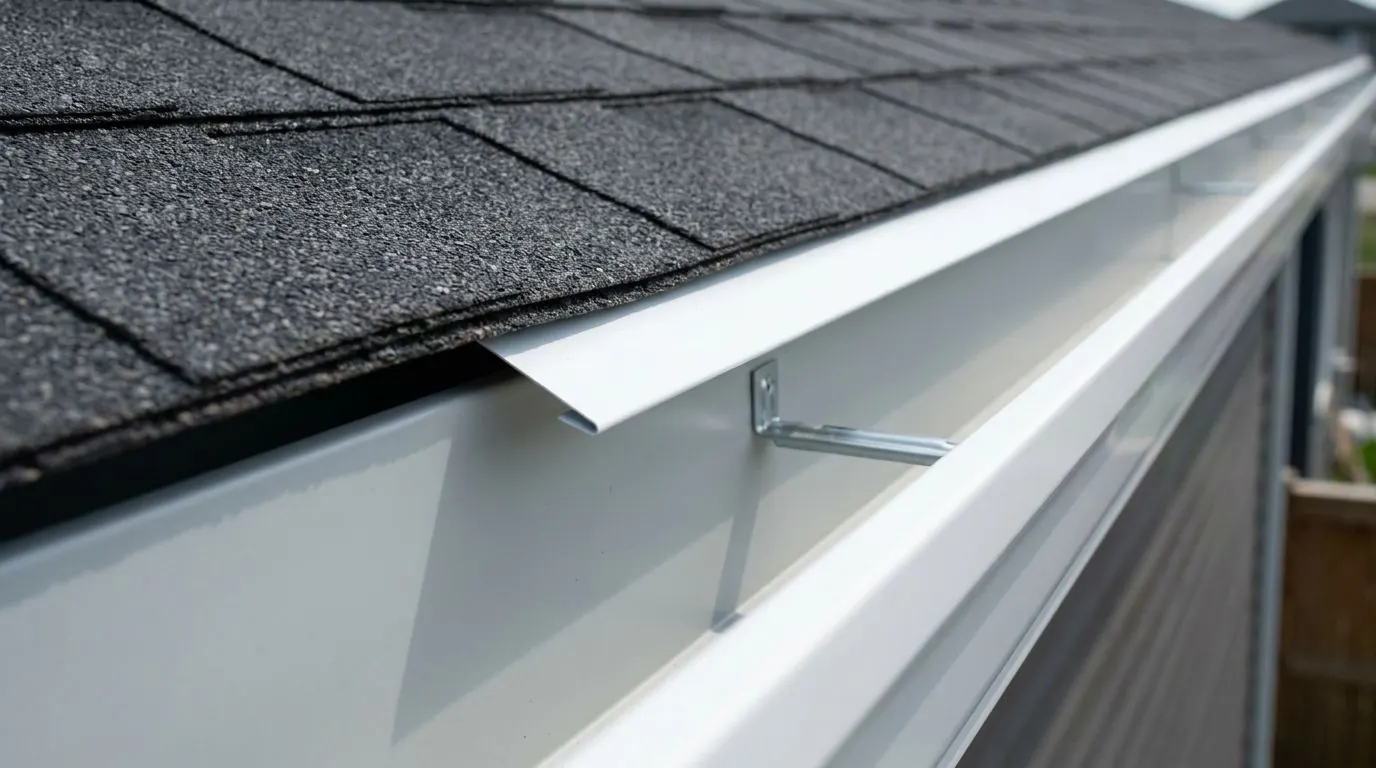
Drip edge is a length of metal flashing, L-shaped or T-shaped in profile, that runs along the edge of the roof. Its top flange lies flat on the roof deck under the roofing, and its face turns down over the edge and kicks slightly outward. That small offset is what breaks the surface tension: water leaving the shingle follows the metal past the fascia and drops off the lower edge, into the eavestrough, instead of curling back. It also bridges the gap between deck and fascia and supports the shingle edge.
The order of layers is different at the eaves and the rakes, and getting it wrong defeats the purpose. At the eaves, common practice and most shingle manufacturers’ instructions put the drip edge down first on the deck, with the eave protection membrane lapped over its flange, so any water that ever gets under the shingles flows over the metal and out rather than behind it. On the rakes, the order flips: the underlayment goes down first and the drip edge goes over it, so wind-driven water on the gable can’t get under the flashing. Where the two meet at a roof corner, the rake piece laps over the eave piece.
On a house that is already roofed, we retrofit. The first course of shingles is carefully released and the drip edge flange is slid in under it, then the shingles are pressed back down and resealed. Where an eave protection membrane is already adhered to the deck, we don’t tear it up to reach underneath, so a retrofit cannot always recreate the exact layering of a brand-new roof, and we say so. What it does reliably is stop the wicking: water leaves the shingles, follows the flashing and lands inside the gutter channel instead of running down the fascia behind it, which is what prevents rot in the fascia backing and the deck edge.
How the Job Runs, Step by Step
Roof-edge assessment from the ladder
We lift a shingle corner gently at a few points along the eave and rake to see whether any flashing exists, what the underlayment and membrane look like, and how far the shingles overhang the deck. We press along the deck edge for softness and look for wet stripes, peeling paint or rot on the fascia below. That tells us whether a retrofit is sound, or whether the deck edge needs a roofer first.
Choose the day by shingle temperature
Asphalt shingles are flexible when warm and brittle when cold, and lifting a cold shingle tab is the quickest way to crack it. We schedule retrofits for warm weather wherever possible and, in the shoulder seasons, for the warmest part of the day.
Release the first course without damage
The adhesive strip holding the first course is broken carefully with a flat bar, working along the eave a short section at a time. Nails that would block the flange are dealt with so the metal can slide fully home without tearing the shingles or the underlayment. Any shingles too brittle or damaged to reuse are identified before we go further.
Set the eave and rake flashing
The drip edge is slid under the released course with its face tight to the fascia, and lengths overlap in the direction water flows. It is fastened through the flange where the shingles will cover the fasteners, never through the exposed face. At each roof corner, the rake flashing is cut and folded to lap over the eave piece so water is always shed outward.
Reseal, align the eavestrough and water-test
Lifted shingles are pressed back and resealed with roofing sealant where the original adhesive strip won’t rebond on its own. We check that the back of the eavestrough sits under the drip face so released water lands inside the trough, and adjust where it doesn’t. A hose run along the roof edge confirms water drops into the gutter rather than down the fascia.
What Decides the Specification
Profile and reach come first. An L-shaped drip edge is the simple angle; a T-shaped profile adds a small outward kick at the bottom that throws water a little farther from the fascia. The face has to be long enough to cover the top edge of the fascia, or the top leg of any fascia capping, and to land water inside the eavestrough, so the overhang of the shingles past the deck and the height of the trough both matter. The flange has to be wide enough to sit securely under the first shingle course on a retrofit. Prefinished aluminum keeps the edge from rusting and lets the colour match the fascia and eavestrough so the flashing disappears into the trim line.
The condition of the existing roof decides how the job is done, and sometimes whether it should be done now at all. Shingle age and flexibility determine how safely the first course can be lifted. The number of roofing layers, the presence and position of an eave protection membrane, and whether the deck edge is solid or swollen all change the retrofit. If the eavestroughs are being replaced or rehung at the same time, the trough height can be set to suit the new drip edge exactly, which gives the cleanest result of all.
Code, Bylaw and Manufacturer Notes
Alberta builds to the National Building Code – 2020 Alberta Edition, which in most cases requires eave protection on shingled roofs in a climate like Airdrie’s: a waterproof membrane under the shingles at the eaves that extends up the roof past the inside face of the exterior wall. Drip edge at eaves and rakes is called for in shingle manufacturers’ installation instructions and is common practice under the code, and those instructions govern exactly where it sits in the layers. Some shingle warranties depend on the roof being installed to those instructions, so we follow them rather than improvise.
Adding drip edge to an existing roof is small-scope edge work, but a full re-roof may need a permit. Check with the City of Airdrie, or with the Town of Crossfield, Rocky View County or your local municipality if you are outside city limits, before combining flashing work with roofing.
General guidance only. The municipality, its bylaws and the manufacturer’s installation instructions decide what applies to your job.
Around Airdrie
Hillcrest has some of Airdrie’s older housing, with homes built through the 1970s to the 1990s, and roofs of that age have commonly been replaced once or twice since. It is common on roofs of that age to find no drip edge at all, a short strip that no longer reaches the fascia after later roofing layers, or rake edges left unflashed. The signs show from the sidewalk: dark streaks down the fascia and sagging first-course shingles. Retrofitting drip edge there, alongside new or rehung eavestroughs, stops that cycle before it reaches the rafter tails.
Midtown is a much newer neighbourhood, 2010s onward, and roofs of that era generally went on with drip edge. The problem there is more often the relationship between the flashing and the eavestrough: troughs hung with their back edge below or outside the drip face, so water still dribbles behind them, or rake-to-eave corners where the laps run the wrong way. The fix is usually adjustment rather than a full retrofit. We do the same work in Crossfield, where older homes in town and newer builds on its edges show both versions of the problem.
Often Done Alongside
Heavy-Gauge Aluminum Fascia Capping
Brake-bent aluminum wrap for wood fascia, sealed at the ends and never repainted.
Winter Ice Dam & Attic Frost Mitigation
Roof-edge and eavestrough fixes for ice dams, with honest attic heat-loss advice.
Corner Joint Re-Sealing & Leak Repair
Leaking corners, end caps and outlets stripped, re-sealed, riveted and water-tested.
Where We Do This Work
Drip Edge: Questions We Get
How can I tell if my roof already has drip edge?
If I already have fascia capping, do I still need drip edge?
Why do you avoid retrofitting drip edge in cold weather?
Will adding drip edge stop ice dams on my roof?
Can eavestroughs be installed in an Airdrie winter?
Considering Drip Edge?
Call Airdrie Gutters or send the details. We will look at the job, tell you whether drip edge is the right fix, and price it in writing.